UTM Shipping service logo

Sõstramäe 12 – 39

11415 Tallinn, ESTONIA

+372 53 03 63 99

Technical Management

+372 58 83 72 74

Marketing & Sales Management

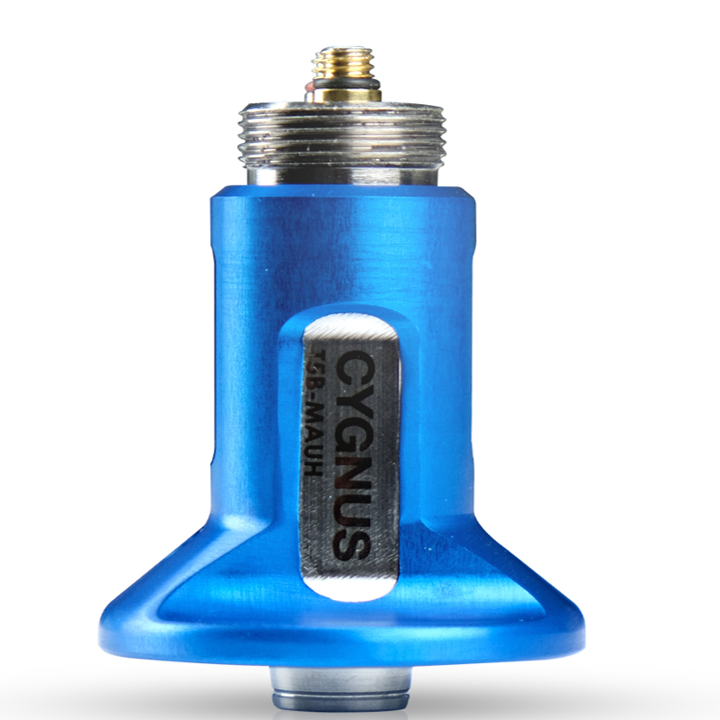
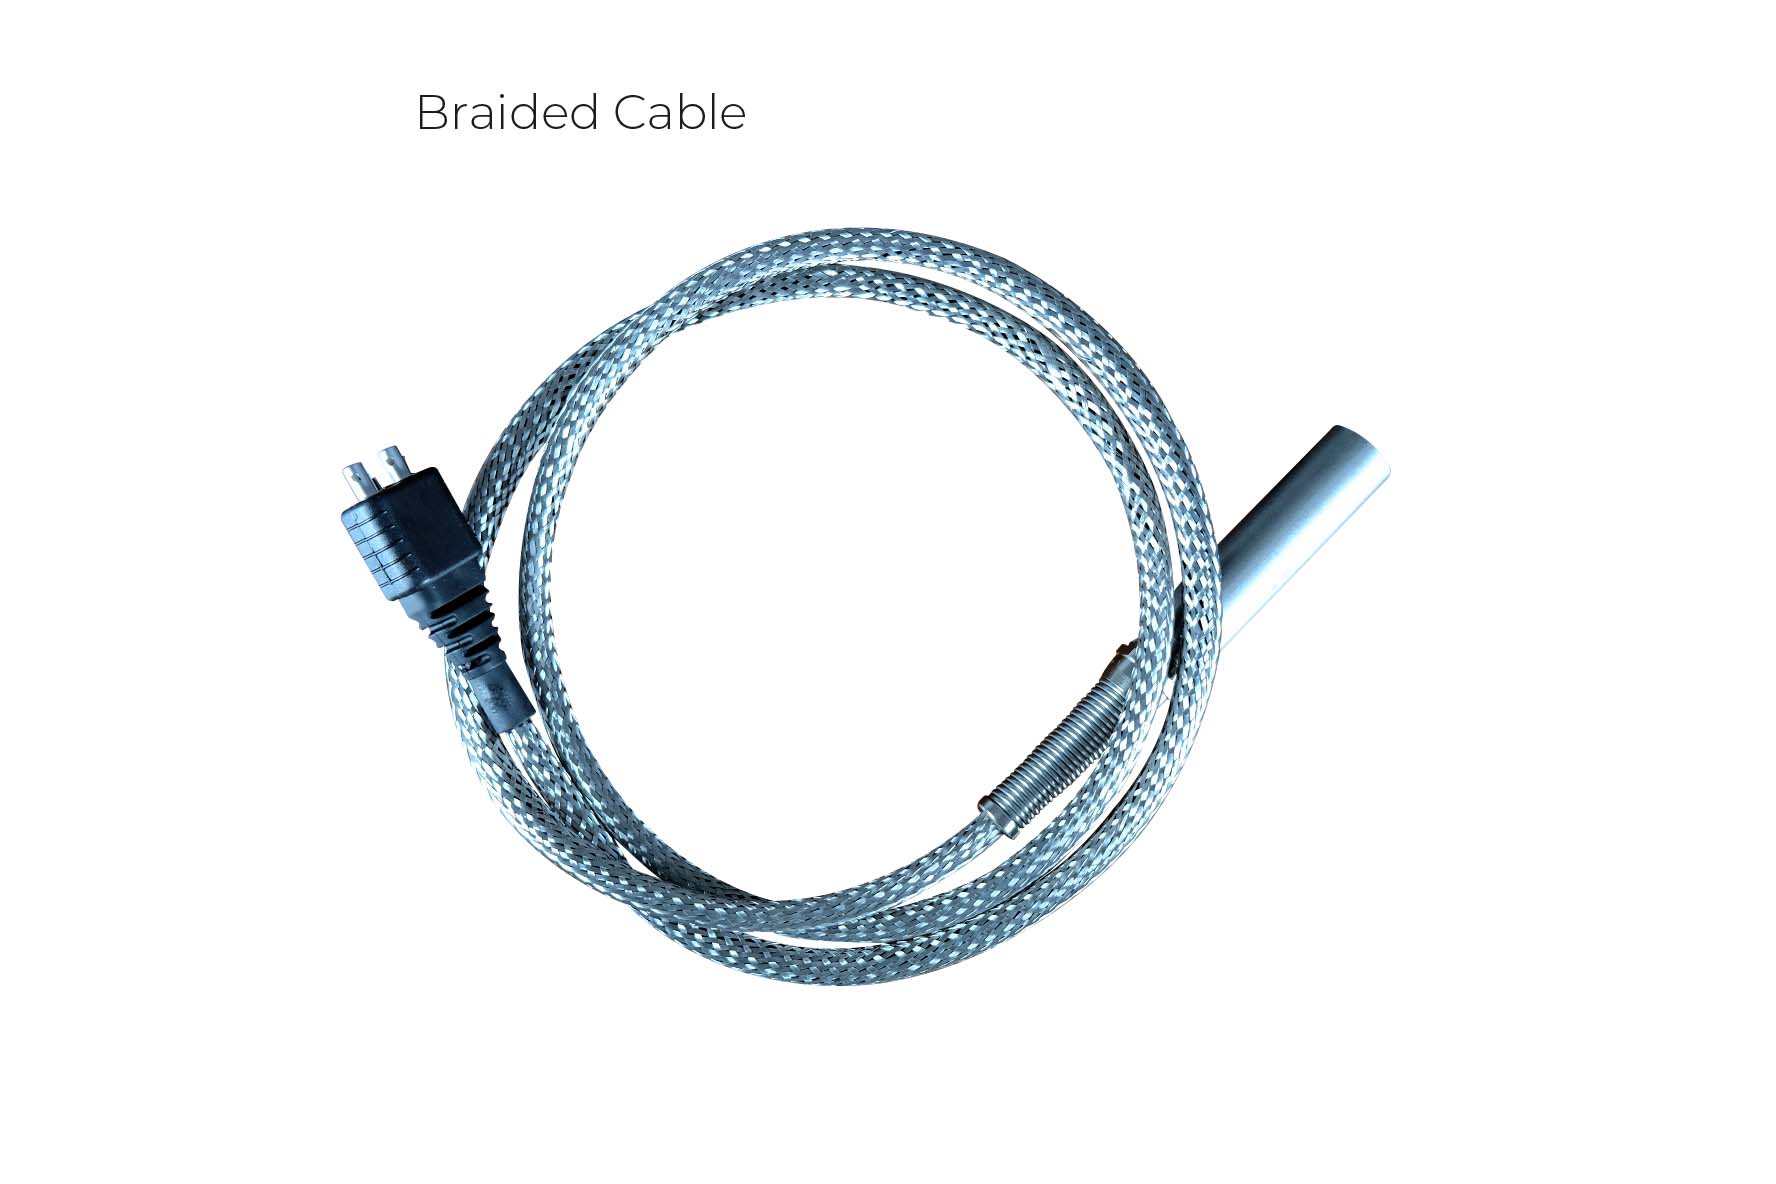
High Temperature Probe

CYGNUS G1 PROBE HANDLER

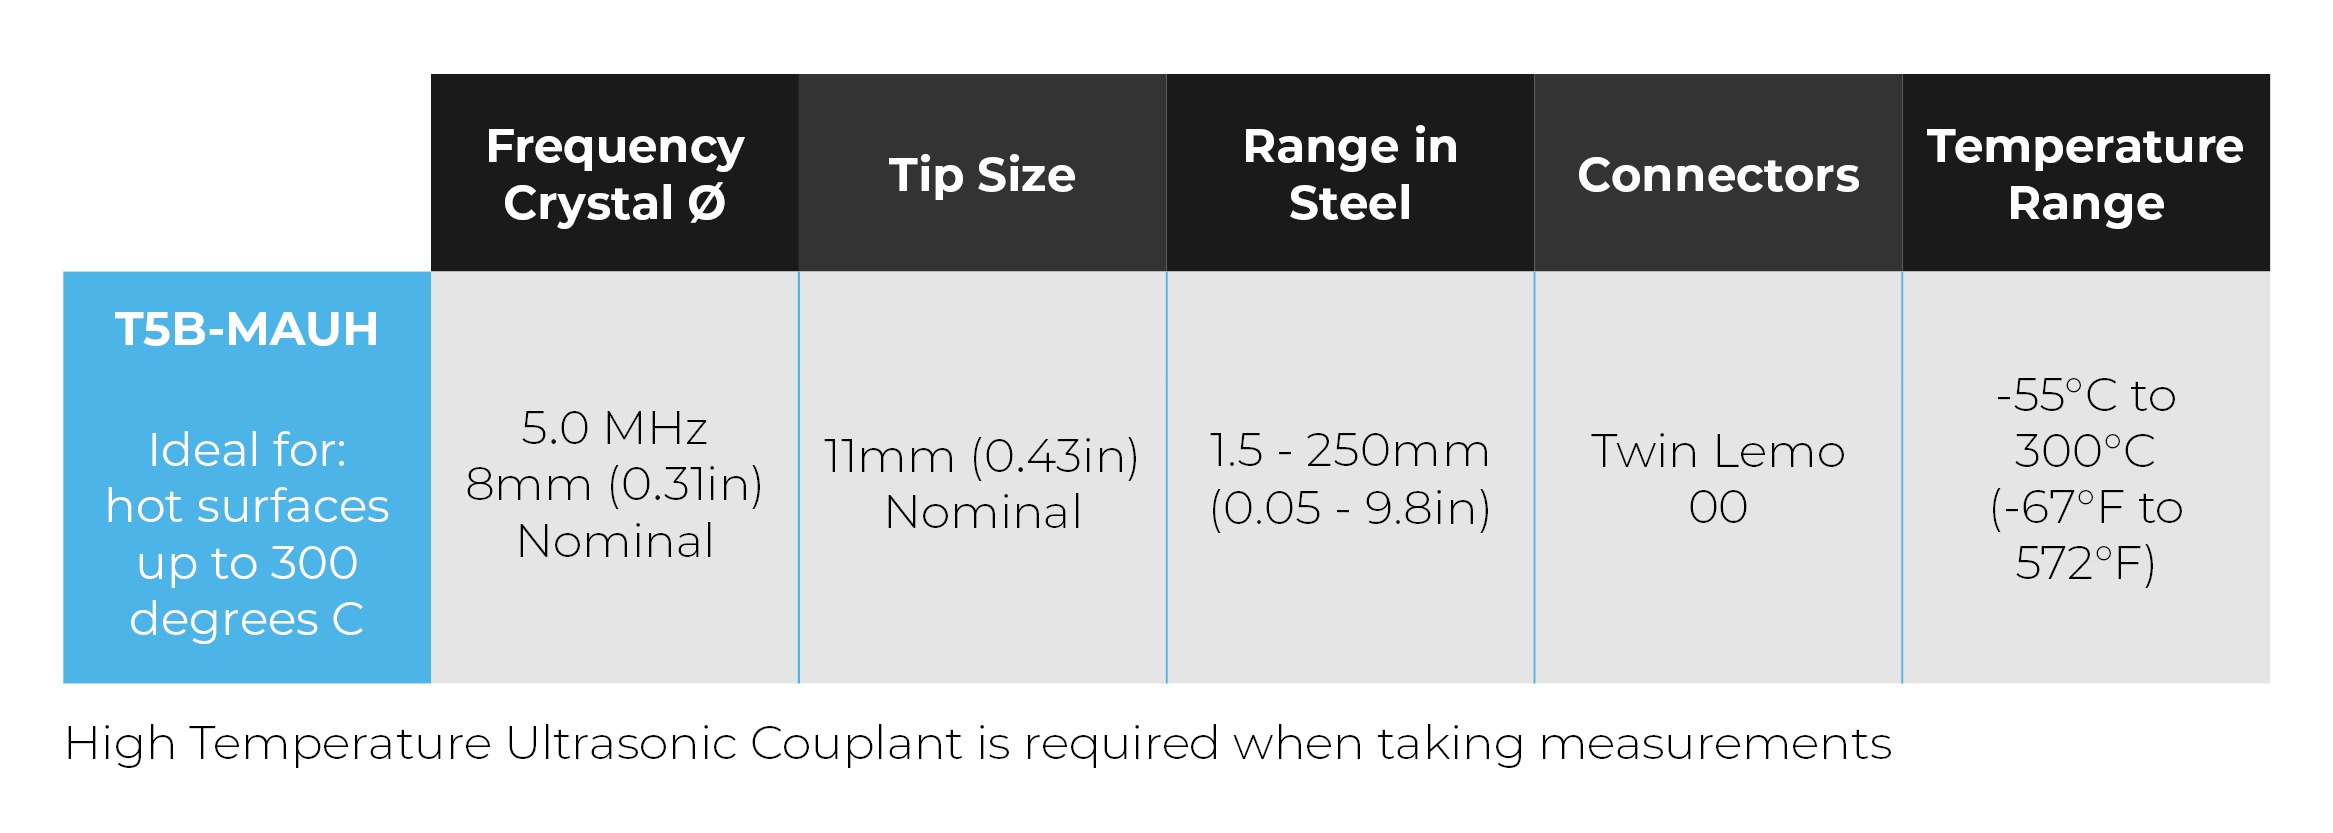
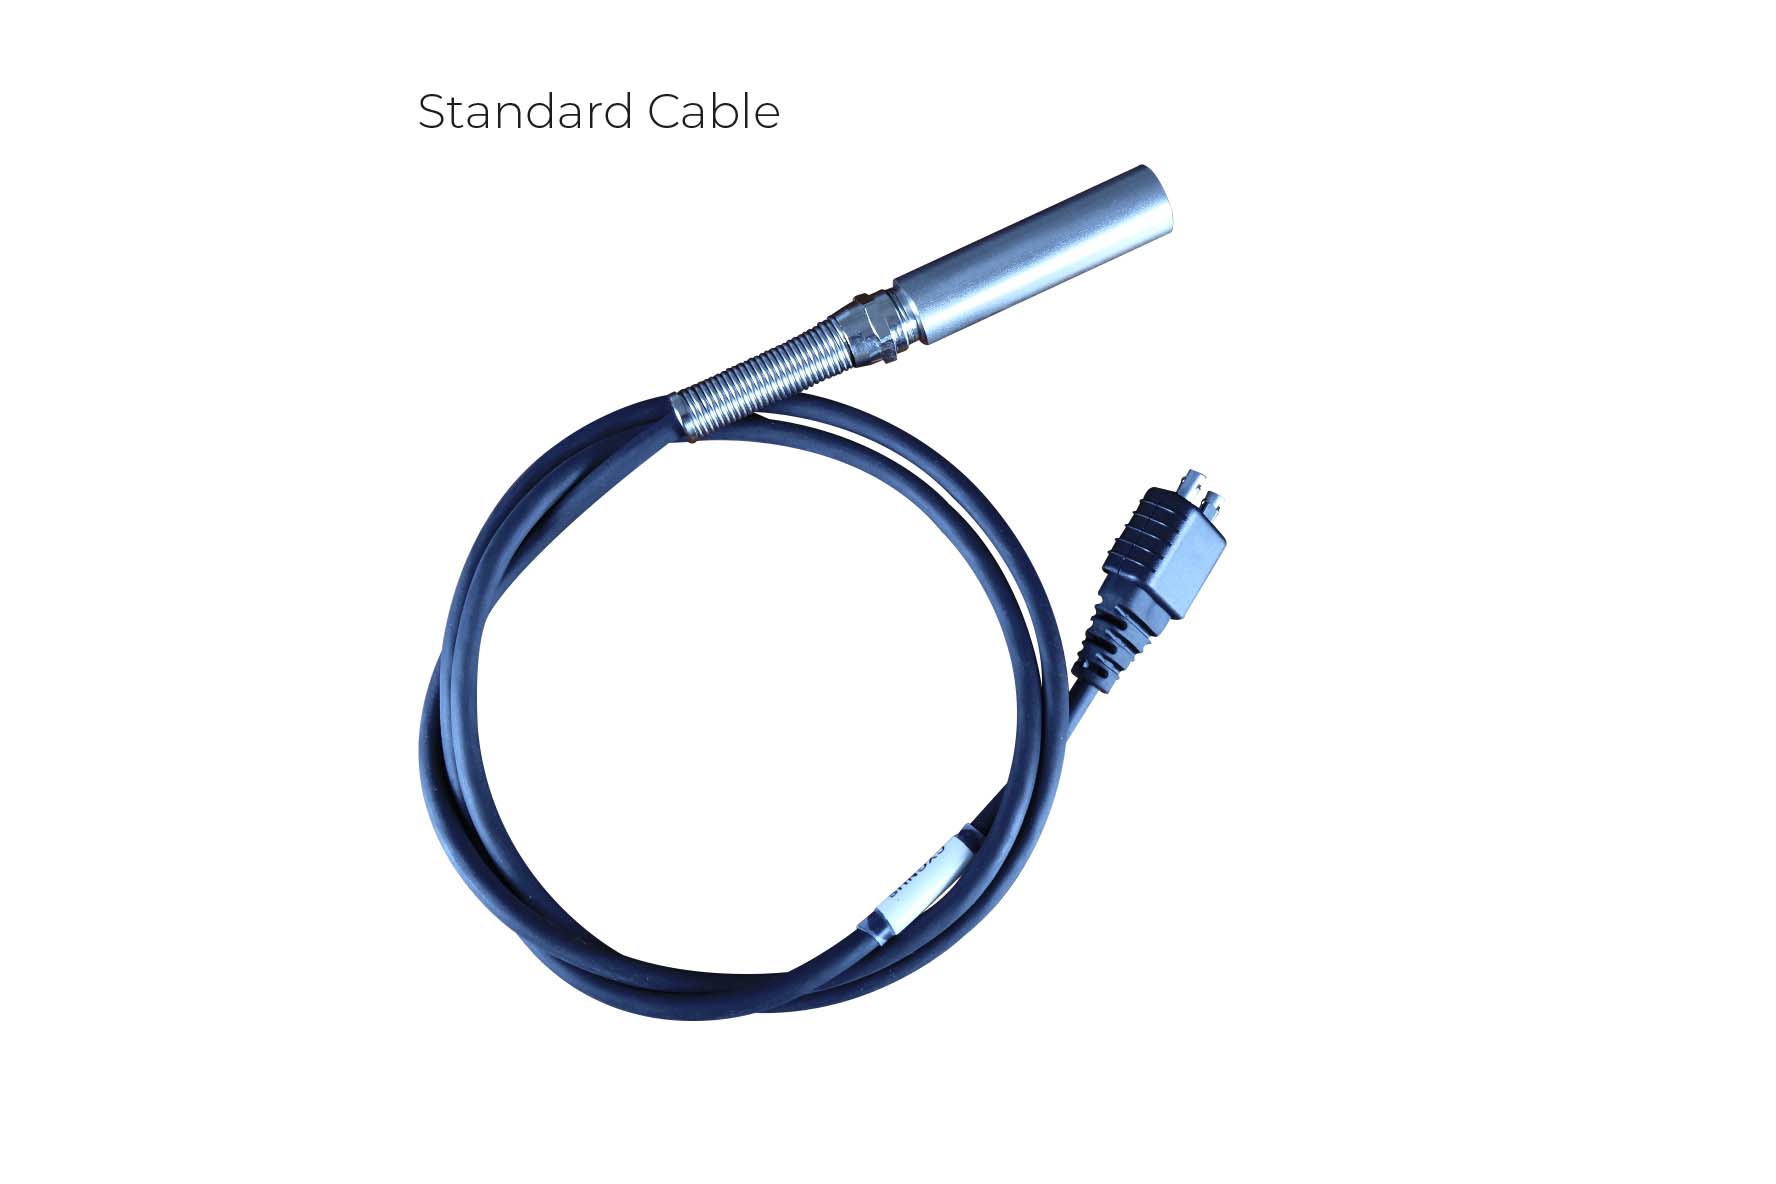
Twin Element Ultrasonic Probe designed for high-temperature, in-service thickness measurements and corrosion surveys across oil & gas, refining, energy and process sectors.

  • No cooling period required – reducing inspection time and facilitating effective measurement
  • For use on hot surfaces up to 300 degrees C
  • Measures remaining wall thickness from 1.5mm to 250 mm – depending on temperature and material.

CYGNUS 1 Ex

Cygnus 1 Ex

Advanced Intrinsically Safe UTGDesigned for taking reliable thickness measurements in Zone 0 Explosive Atmospheres and boasting advanced data logging and manual measurement mode. The Cygnus 1 Ex features a large colour LCD display and 3 measuring modes for through-coat measurements and various materials – including heavily corroded metals.

Cygnus CYGLINK SOFTWARE

CYGLINK Software designed for CYGNUS Thickness gauges

CygLink is a Windows® program for PC’s running Windows 7® and above.

It can be used for:

  • Logging thickness measurements
  • Uploading logged readings from a thickness gauge
  • Reporting
  • Analysis.

It has different functionality depending on which Cygnus thickness gauge it is being used with and how it is being used.

Options

There are two ways CygLink is used with the Cygnus DIVE gauge:

  • Logging on a computer at the surface
  • To upload readings from a data logging DIVE gauge.

Surface Repeater

A DIVE ultrasonic thickness gauge can be connected to a computer on the surface with an umbilical cable. With the computer running CygLink, thickness readings and A-scans taken by the gauge can be logged on the computer at the surface.

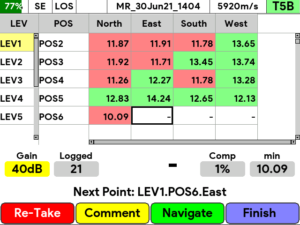
Thickness measurements can be logged either as a linear list or a two dimensional grid. Reference (original material thickness) and Minimum Thickness Criteria can be set and any measurement below the minimum will be highlighted as red. Comments and notes can be added to each thickness measurement and there is the facility for 8 pre-set comments to be set-up for convenience.

Gauge settings, including the velocity of sound can be controlled from the surface. The software used in this way provides the following functionality:

  • Surface display of thickness measurements
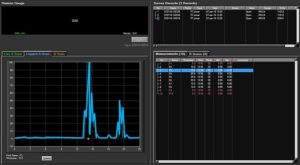
  • Surface display of A-scan and B-scan graph
  • Logging of the measurement, A-scan and B-scan
  • Surface display of the gauge’s battery level
  • Remote setting of the velocity of sound
  • Remote setting of the units (metric or imperial) Remote control of the Deep Coat function
  • Estimation of thickness from A-scan graph and data logging of this estimated thickness value.

Once logged in CygLink the measurements (and A-scans and B-scans if applicable) can be viewed and analysed. The information can then be printed as a .pdf report or exported to a .csv file.
Cygnus DIVE Computer Logging Kit Contents:

  • 9-way D to USB link lead.
  • Fischer to 9-way D connector (this connect the DIVE Gauge which has a Fischer connector to umbilical cable with a 9-way D Connector fitted).
  • CygLink software supplied on a USB stick (this is also available to download from the “Technical Software” list in the Support section of our website http://www.cygnus- instruments.com/support. Please either log-in or register with an email address and password to access it.
  • An umbilical cable is required to connect the DIVE gauge to the computer at the surface. Cygnus can supply the complete umbilical cable with connectors fitted, or the customer can make their own umbilical cable using connectors supplied with cable tails.
  • Cygnus umbilical cable P/N 001-0415.

Data Logging DIVE Thickness Gauge

If the DIVE gauge is a data logging model, measurements can be logged into the gauge memory during the underwater survey. When the gauge is at the surface it is connected to a computer with a USB to Fischer cable (supplied in the gauge kit), and the readings are then uploaded into the CygLink software installed on a computer.

Once in CygLink the readings (and A-scans and B-scans if applicable) can be viewed and analysed. The information can then be printed as a .pdf report or exported to a .csv file.
Surface Repeater

When used with an ultrasonic Underwater Gauge and an umbilical cable to the surface, CygLink displays the thickness measurements in real time at the surface. Measurements can then be logged into a survey in the CygLink software either as a linear list or a two dimensional grid.

Reference (original metal thickness) and Minimum Thickness Criteria can be set and then any measurement below the minimum will be highlighted as red.

Comments and notes can be added to each thickness measurement and there is the facility for 8 pre-set comments to be set-up for convenience.

The Surface Computer Logging Kit comprises the following items:

  • CygLink Software
  • Cygnus UNDERWATER (4-way Impulse) to Topside (9-way D RS422) data connection
  • Isolated data converter (RS422/RS485 to USB).

An umbilical cable is required to connect the UNDERWATER gauge to the computer at the surface. Cygnus can supply the complete umbilical cable with connectors fitted, or the customer can make their own umbilical cable using connectors supplied with cable tails. Cygnus umbilical cable P/N 001-0415

Cygnus ROV Mountable Thickness Gauges are connected to the surface usually either through a Multiplexer and twisted pair or by an umbilical cable. This is then connected to a computer at the surface.

CygLink allows remote viewing, control and data logging for the Cygnus ROV Mountable gauges. CygLink is supplied in the gauge kit with all the ROV mountable Gauges.

The software can provide the following functionality:

  • Surface display of thickness measurements
  • Data Logging of thickness measurements into a Survey report
  • Remote setting of the velocity of sound
  • Remote setting of the units
  • Calibration of the gauge to a known thickness.

Thickness measurements can be logged into a survey in CygLink software either as a linear list or a two dimensional grid.

Reference (original metal thickness) and Minimum Thickness Criteria can be set and then any measurement below the minimum will be highlighted as red.

Comments and notes can be added to each thickness measurement and there is the facility for 8 pre-set comments to be set-up for convenience.

CygLink is supplied as standard with a Cygnus 4+ Gauge. This is used to:

  • Upload readings, A-Scans and B-Scans to a computer
  • Produce, view and print .pdf reports
  • Export data to a.csv file e.g. Excel
  • Includes colour coding for analysis.

CygLink is supplied as standard with a Cygnus 6+ Gauge. This is used to:


  • Upload reading, A-Scans and B-Scans to a computer
  • Upload of data recorded in bespoke templates
  • Upload pre-set comments into the gauge
  • Comments can be added to each logged measurement
  • Upload velocity setttings to the gauge
  • Produce, view and print .pdf reports
  • Export data to a .csv file e.g. Excel.

CYGNUS 15 MM / ½” TEST BLOCK

CYGNUS 15 MM / ½” TEST BLOCK

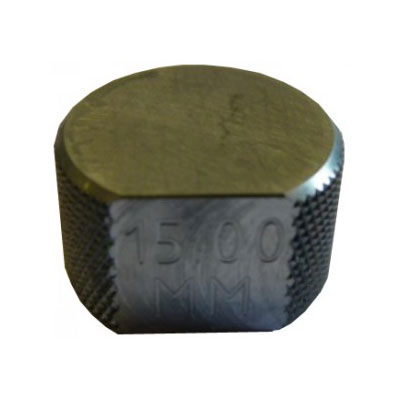
This round test block is ideal for using to check your gauge is reading correctly before each use.  A steel block is supplied in every gauge kit.

They are available in 3 different materials:

Steel Metric 15mm          P/N 001-4850

Steel Imperial ½”          P/N 001-4851

Stainless Steel Metric 15mm P/N 001-4854

Aluminium Metric 15mm P/N 001-4857

CYGNUS CARBON STEEL CALIBRATION STEP BLOCK 5 – 25 MM

CYGNUS CARBON STEEL CALIBRATION
STEP BLOCK 5 – 25 MM

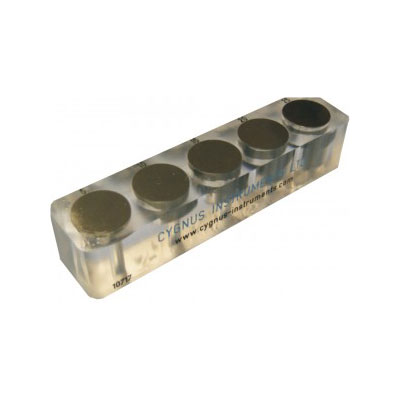
This block has round metal steps of 5mm, 10mm, 15mm, 20mm and 25mm, set in Perspex, ideal for calibrating a gauge when using a single crystal probe.  It is supplied with a traceable dimensional certificate and material type certificate.

Phynix Wall thickness measurement TT-300 series

Phynix Wall thickness measurement TT-300 series

Compact Ultrasonic Gauge

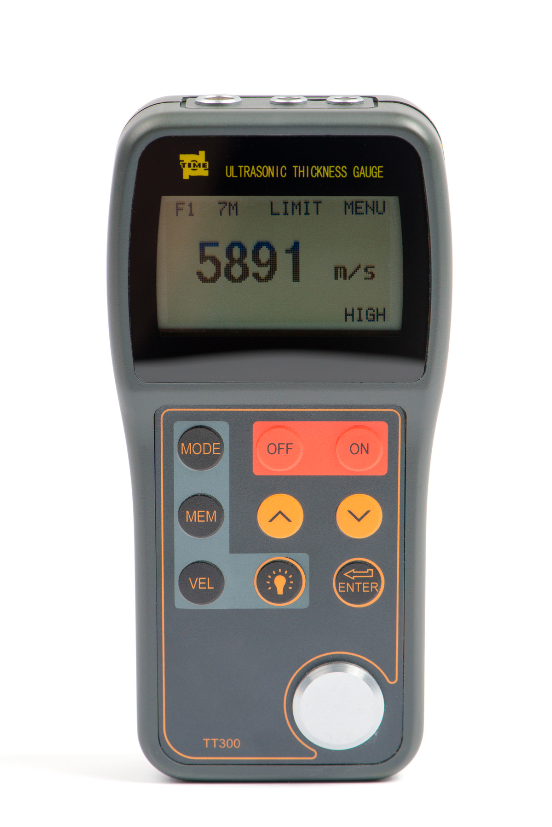
The Delta™ TT-300 is a compact ultrasonic gauge designed for Wall Thickness Measurement measurement on metallic and non-metallic materials such as aluminium, titanium, plastic, ceramics and glass. The adjustable measurement frequency allows the connection of specific probes, for example  the 10 MHz probe with high detection sensitivity.

Phynix Wall thickness measurement TT-100 series

Phynix Wall thickness measurement TT-100 series

Universal wall thickness gauge with external probe

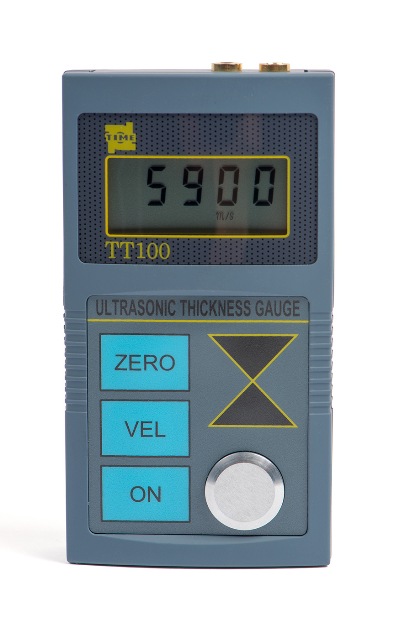
The Delta TT-100 is an universal gauge for metallic and non-metallic materials, e. g. steel, aluminium, grey cast iron, glass, ceramic, plastics or glass. The measuring procedure requires two adjacent parallel surfaces.

The gauge is chracterized by high accuracy and with an easy-to-use menue structure. Five different sound velocities can be stored in order to facilitate the measuring of different materials. The device can alos be used for determining the sound velocity.

The measurement process is simple: after adjusting the sound velocity and applying coupling gel the probe will be placed on the measuring spot. A symbol in the display signals a successful pairing  and the wall thickness can be read. For the storage of the readings 10 spaces are available.

For measurements on hot steel surfaces the Delta TT-120 can be used. A special high-temperature probe allows measurements up to 300 °C. A high-temperature coupling gel is required.

If higher accuracy is needed, we recommend the Delta TT-130, with a resolution of 0.01 mm (TT-100: 0.1 mm).

Phynix Hardness testing Impact TH-series

Phynix Impact TH-series

Portable hardness testers for testing according to DIN EN ISO 16859

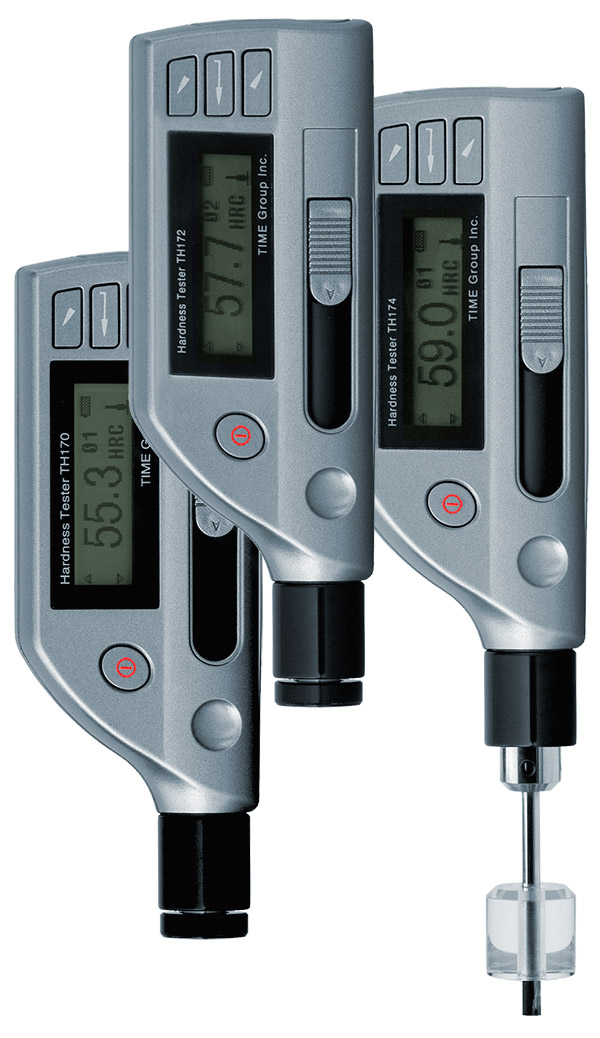
The modern portable hardness testers Impact TH-170, TH-172 and TH-174 provide for a price-conscious, yet accurate solution for hardness testing on site, in the workshop or in production. The devices measure accurately and reliably.

With the automatic identification of impact direction the operation is very easy. It can be used in any position, even upside down. A data memory stores up to 270 values. The measurement data can be transferred to a PC or printer via a USB interface. The devices are equipped with replaceable batteries for 16 hours of continuous operation.